Performance Max Google Ad Campaigns: Step-By-Step Guide
What Is PMax?
PMax is a revolutionizing digital advertising tool by Google. It maximizes conversions for your business by automatically optimizing ad campaigns to deliver the best results. This Google campaign type allows you to show your ads across Google’s network (including Gmail, YouTube, many news and entertainment websites) to potential patients. Google can identify individuals currently looking for a provider, this enables you to create a strong campaign for non-surgical and elective medical treatments.
Below is our step-by-step guide on harnessing the full potential of Performance Max campaigns.
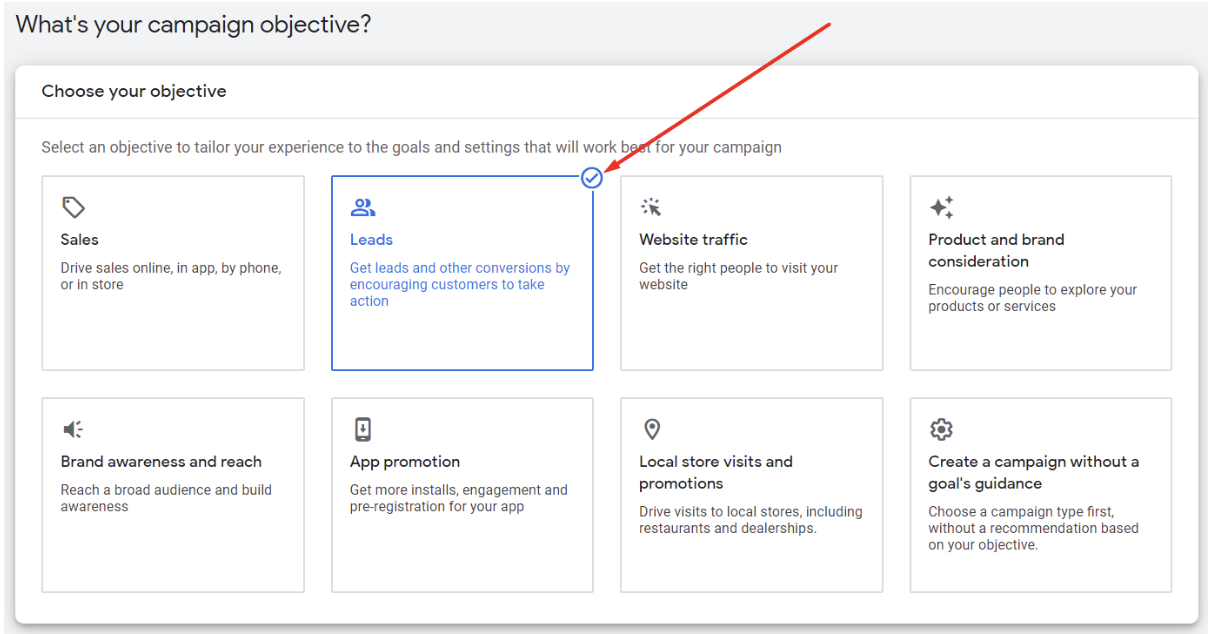
Step 1: Choose a Campaign Goal
Start by selecting a campaign goal that aligns with your advertising objectives. Consider whether you want to drive conversions of any kind or focus on specific valuable actions like calls or consultations. You can choose from the available default conversions installed in your account or customize them according to your needs.
Step 2: Create a Performance Max Campaign
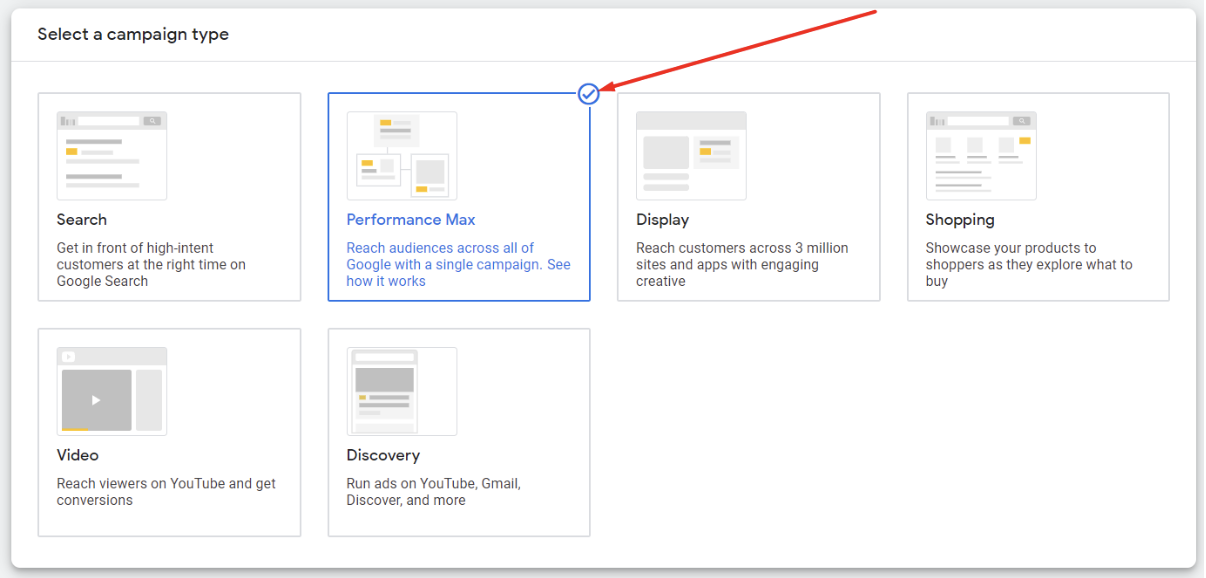
Select the Performance Max campaign type and give your campaign a descriptive name. This will help you easily identify and manage it within your Google Ads account.

Step 3: Set Conversion Tracking and Strategy
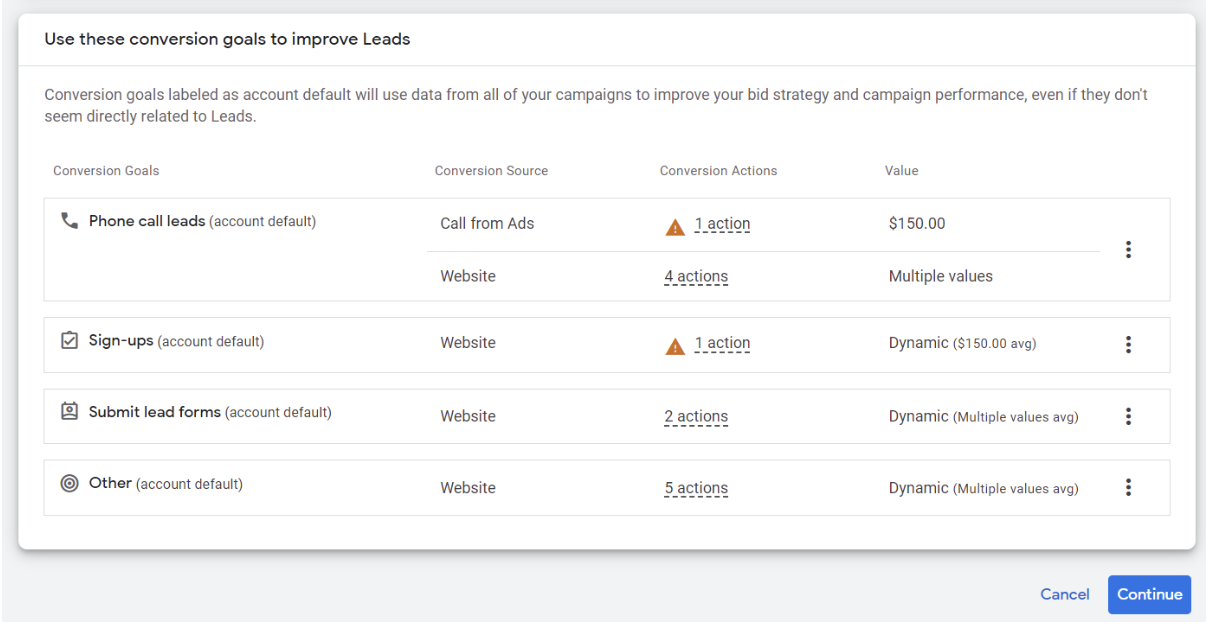
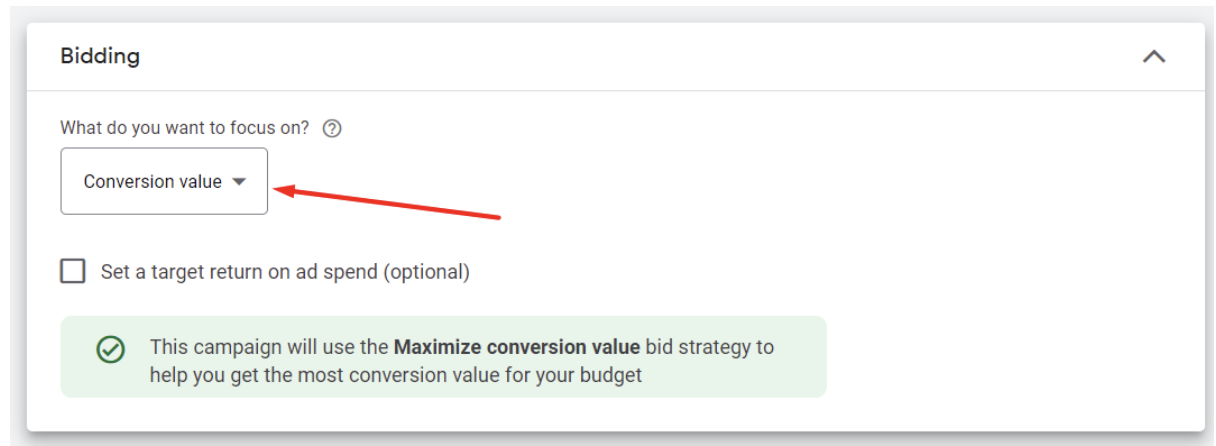
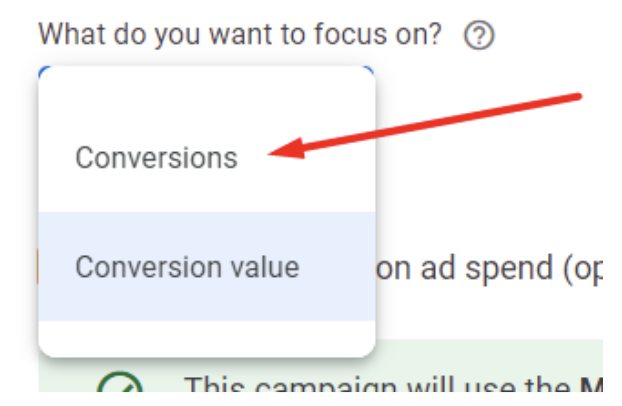
Choose the conversions you want to track to monitor campaign performance. You can remove any unnecessary conversions or keep all of them (recommended). In the beginning, it’s generally better to focus on any conversions. Later, you can set a recommended conversion price. If you want to focus solely on new clients, configure the audience based on successful actions. Importing customers from your CRM can be beneficial for service-based industries where successful bookings may vary.

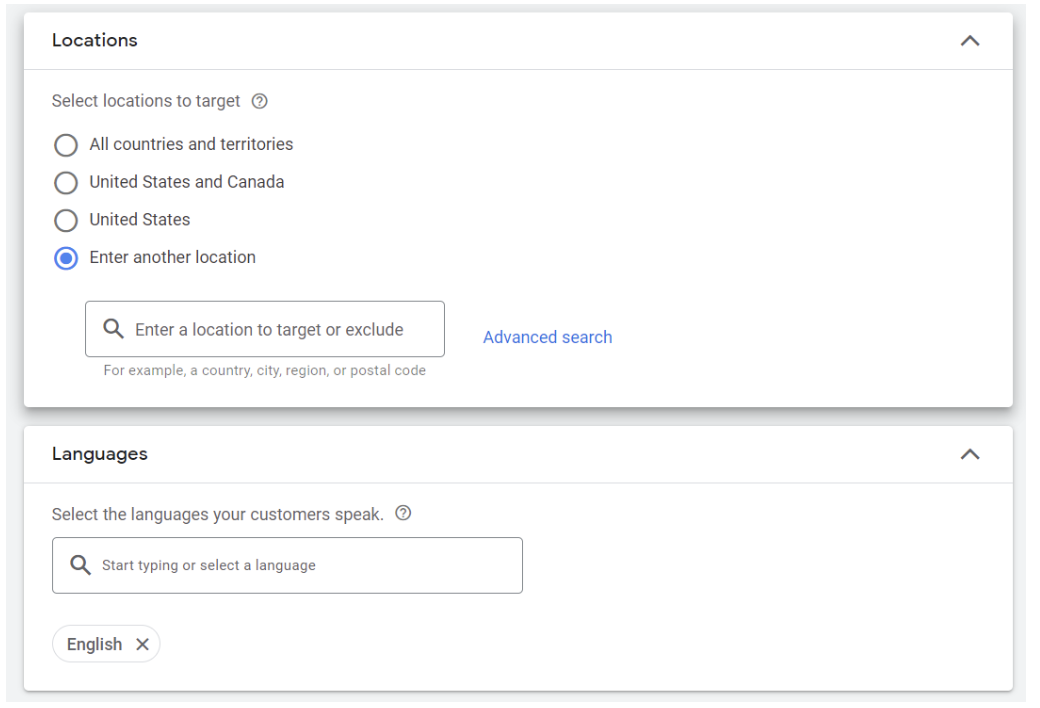
Step 4: Define Campaign Location and Languages
Specify the locations where you want your ad to be shown. Enter the relevant location names in the search field. Additionally, you can add multiple languages your clients communicate in, ensuring your ad reaches a wider audience.
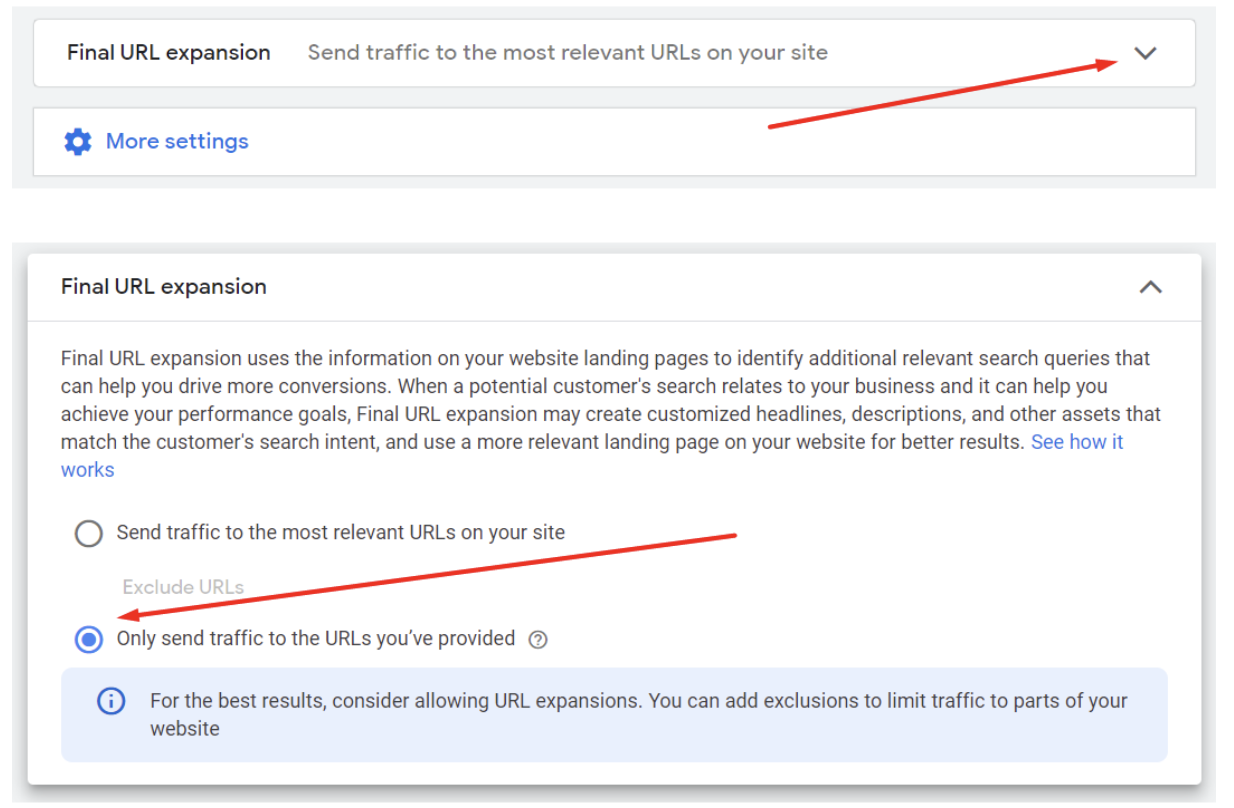
IMPORTANT! If you want to advertise a specific service on a specific page, it is necessary to check the items to focus only on the page that you will indicate in the advertisement.
Step 5: Create Ad Assets
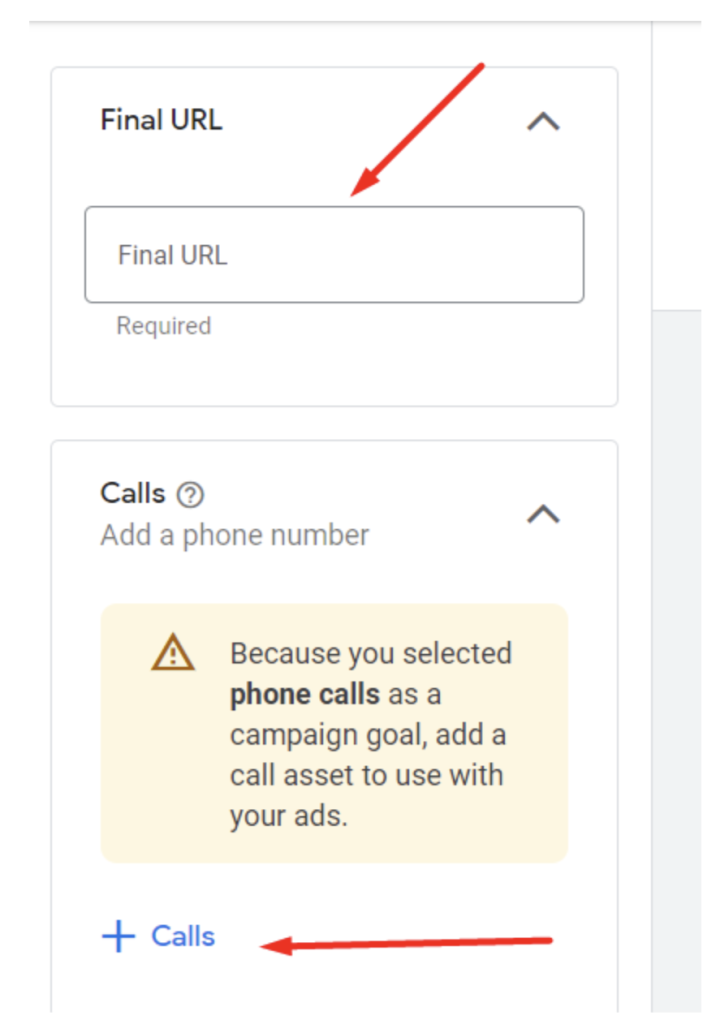
- Add a link to your Landing Page and a phone number for direct calls from the ad.
- Include high-quality images in your ad.
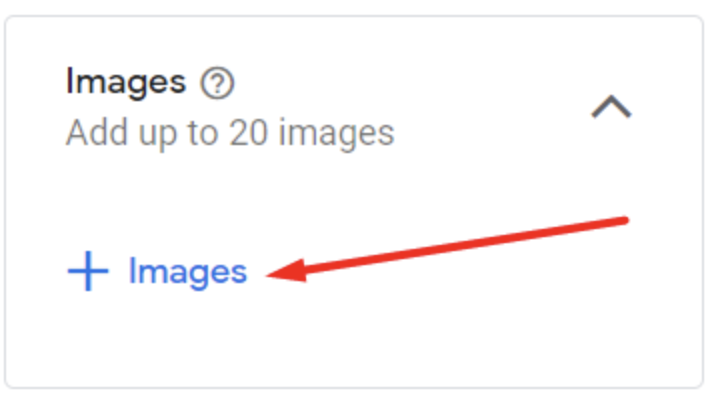
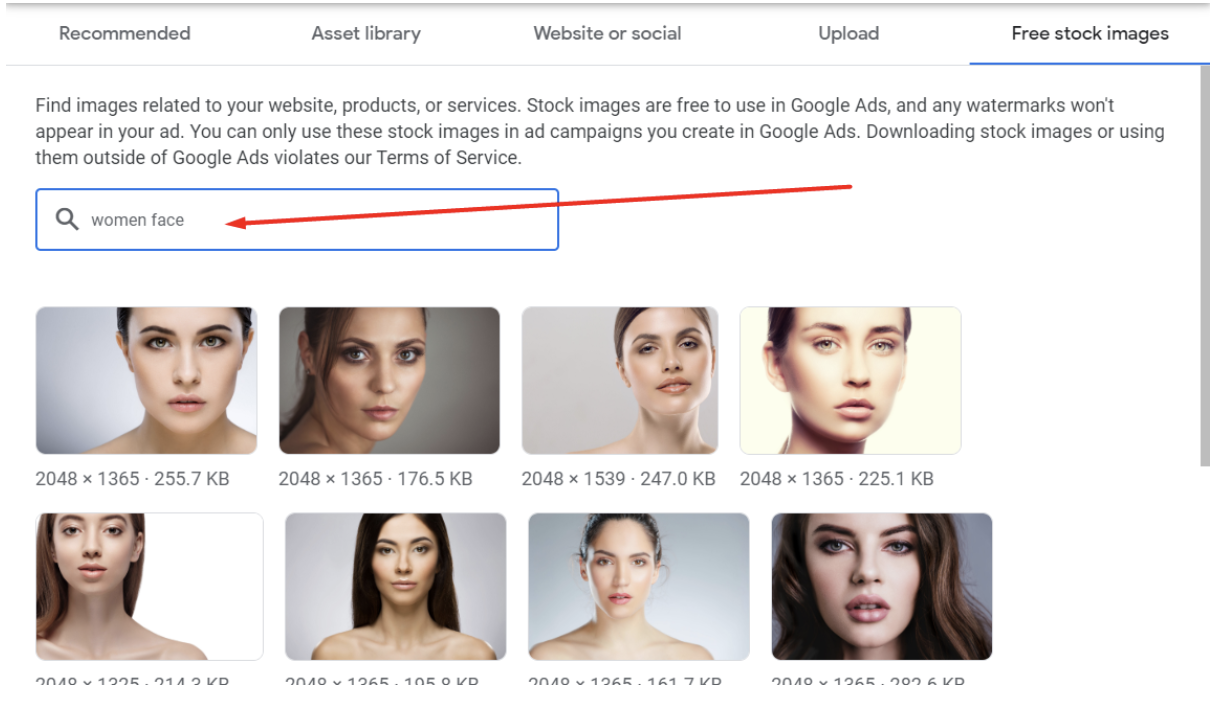
If you don’t have your own images, you can choose from Google’s image library.

Enter a specific query in the free stock images search bar
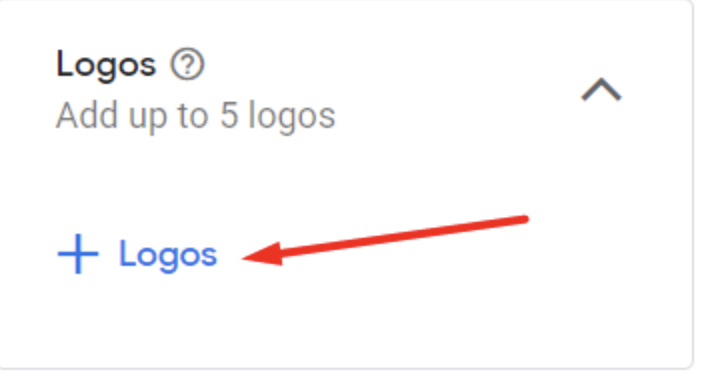
- Upload your logo using the two options provided by the system.
- Incorporate a promotional video by first uploading it to YouTube and then adding the video link. If you don’t have a video, you can create one using Google’s video creation tools.

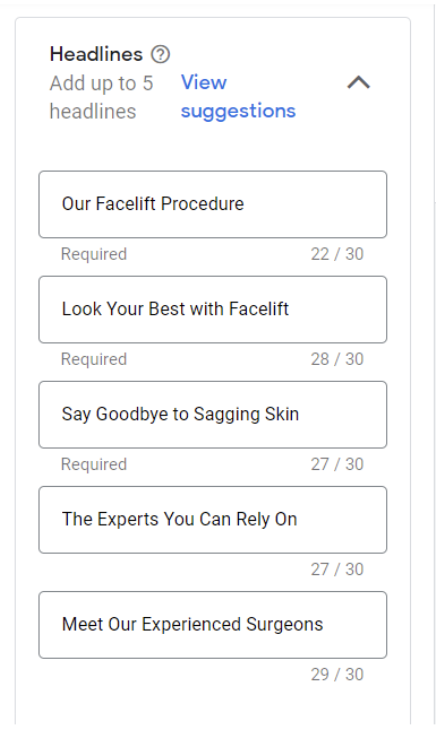
- Craft compelling titles and descriptions. Utilize the maximum available characters as Google will test and use the most effective combinations.
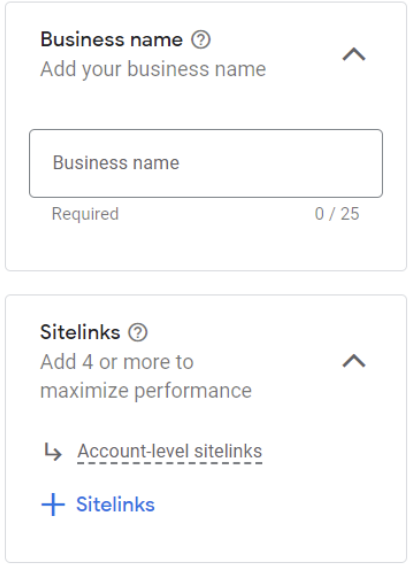
- Specify your company name and add additional relevant links to boost your ad’s ranking.
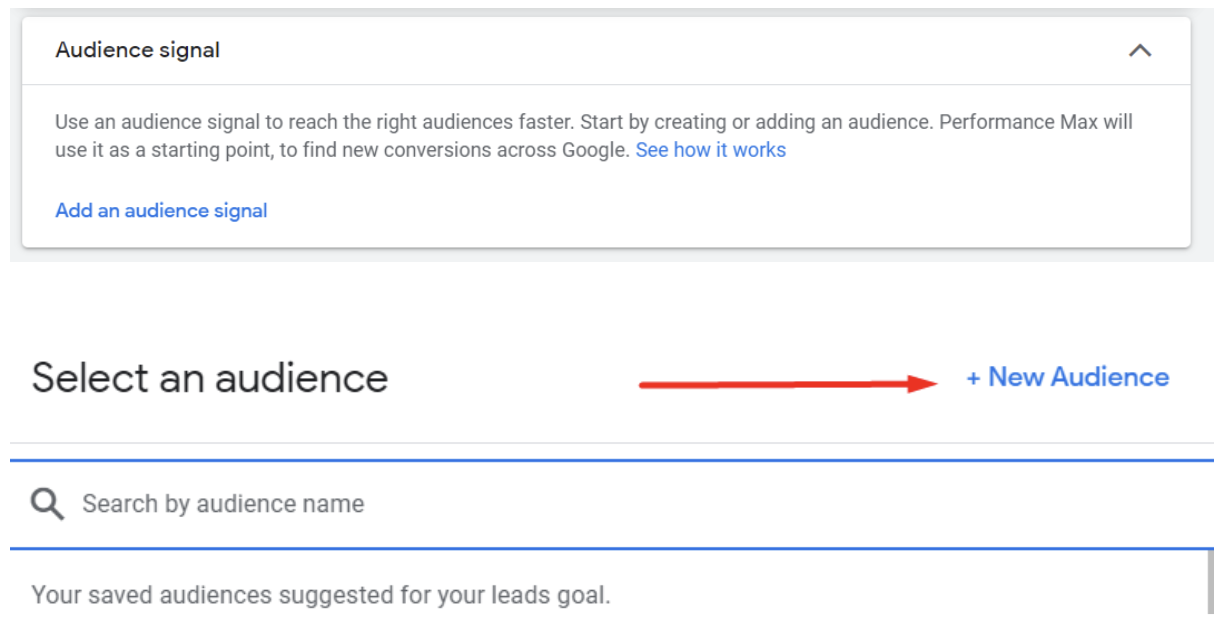
- Utilize “Audience Signal” to provide the system with the best learning direction.
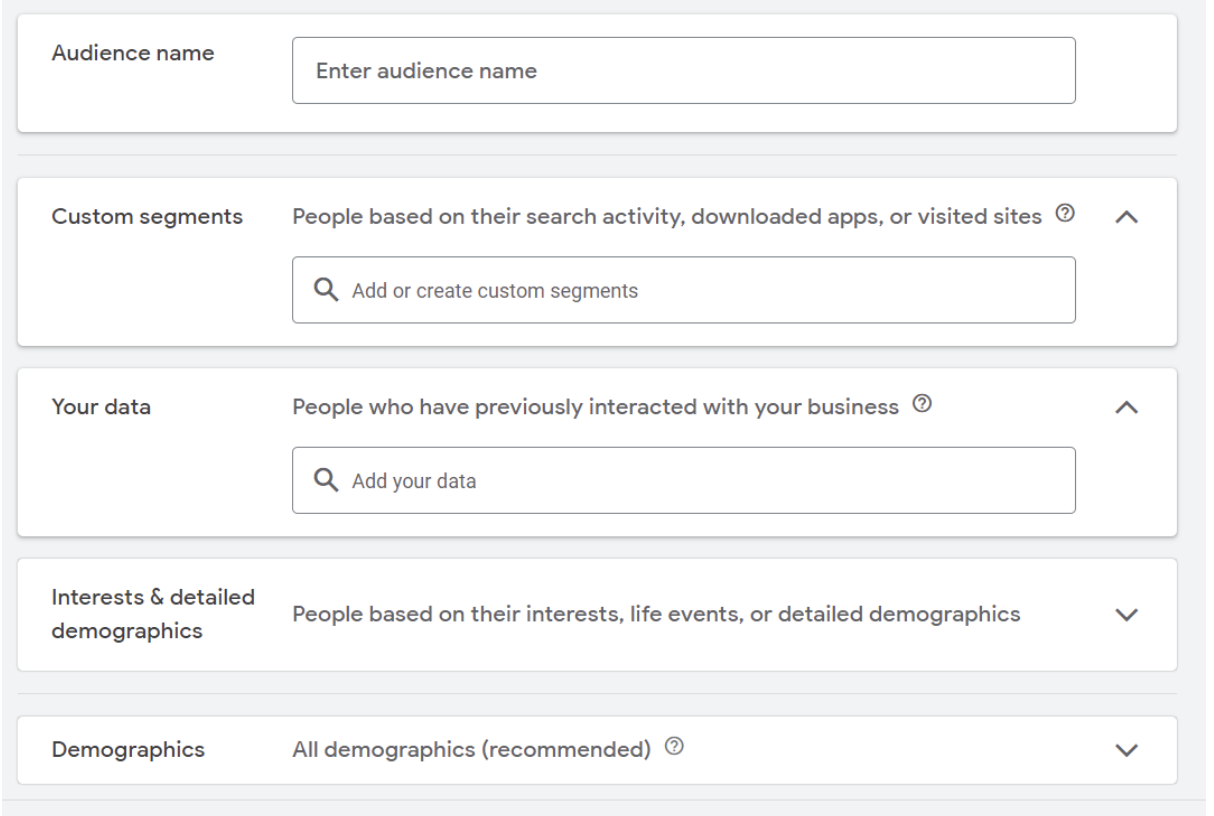
You can include users from your website, those who searched for specific keywords, and other audience segments.
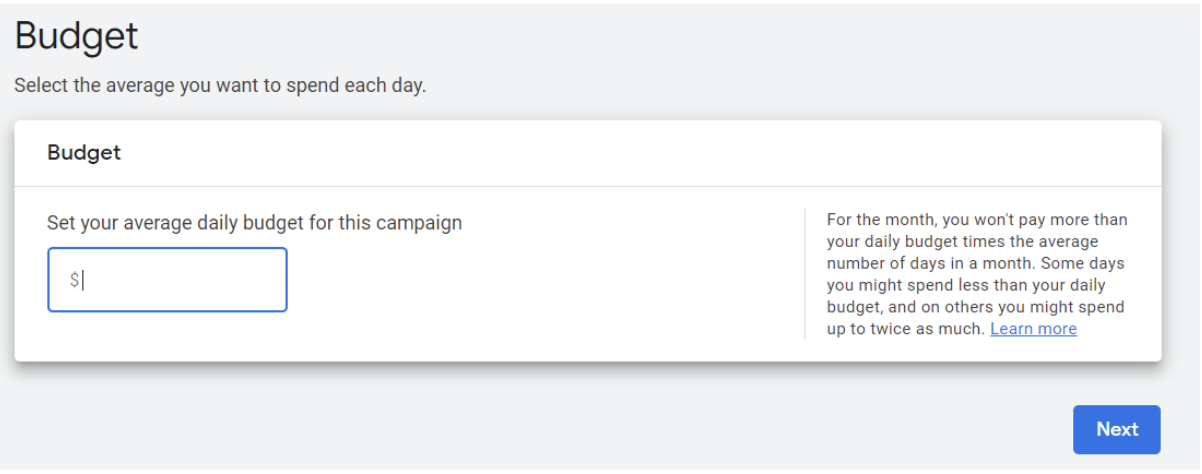
Step 6: Set Budget
Determine your campaign budget to control your advertising spend. Allocate an appropriate budget based on your advertising goals and the scale of your campaign.
Step 7: Review and Confirm
Review all the installed data and ensure there are no errors or omissions. Make any necessary corrections before finalizing the configuration of your PMax campaign.
Congratulations! You have successfully set up your PMax campaign, now remember to monitor its performance regularly, make adjustments as needed, and optimize to drive maximum conversions and ROI.
We Can Help You Stay Ahead of the Curve
At Webtools Group we specialize in helping our clients stand out like a vibrant lipstick shade! Contact us if you need some help with creating effective ad campaigns that generate leads at reasonable costs.
Other Blog Entries:
Ready to experience the Webtools difference?


